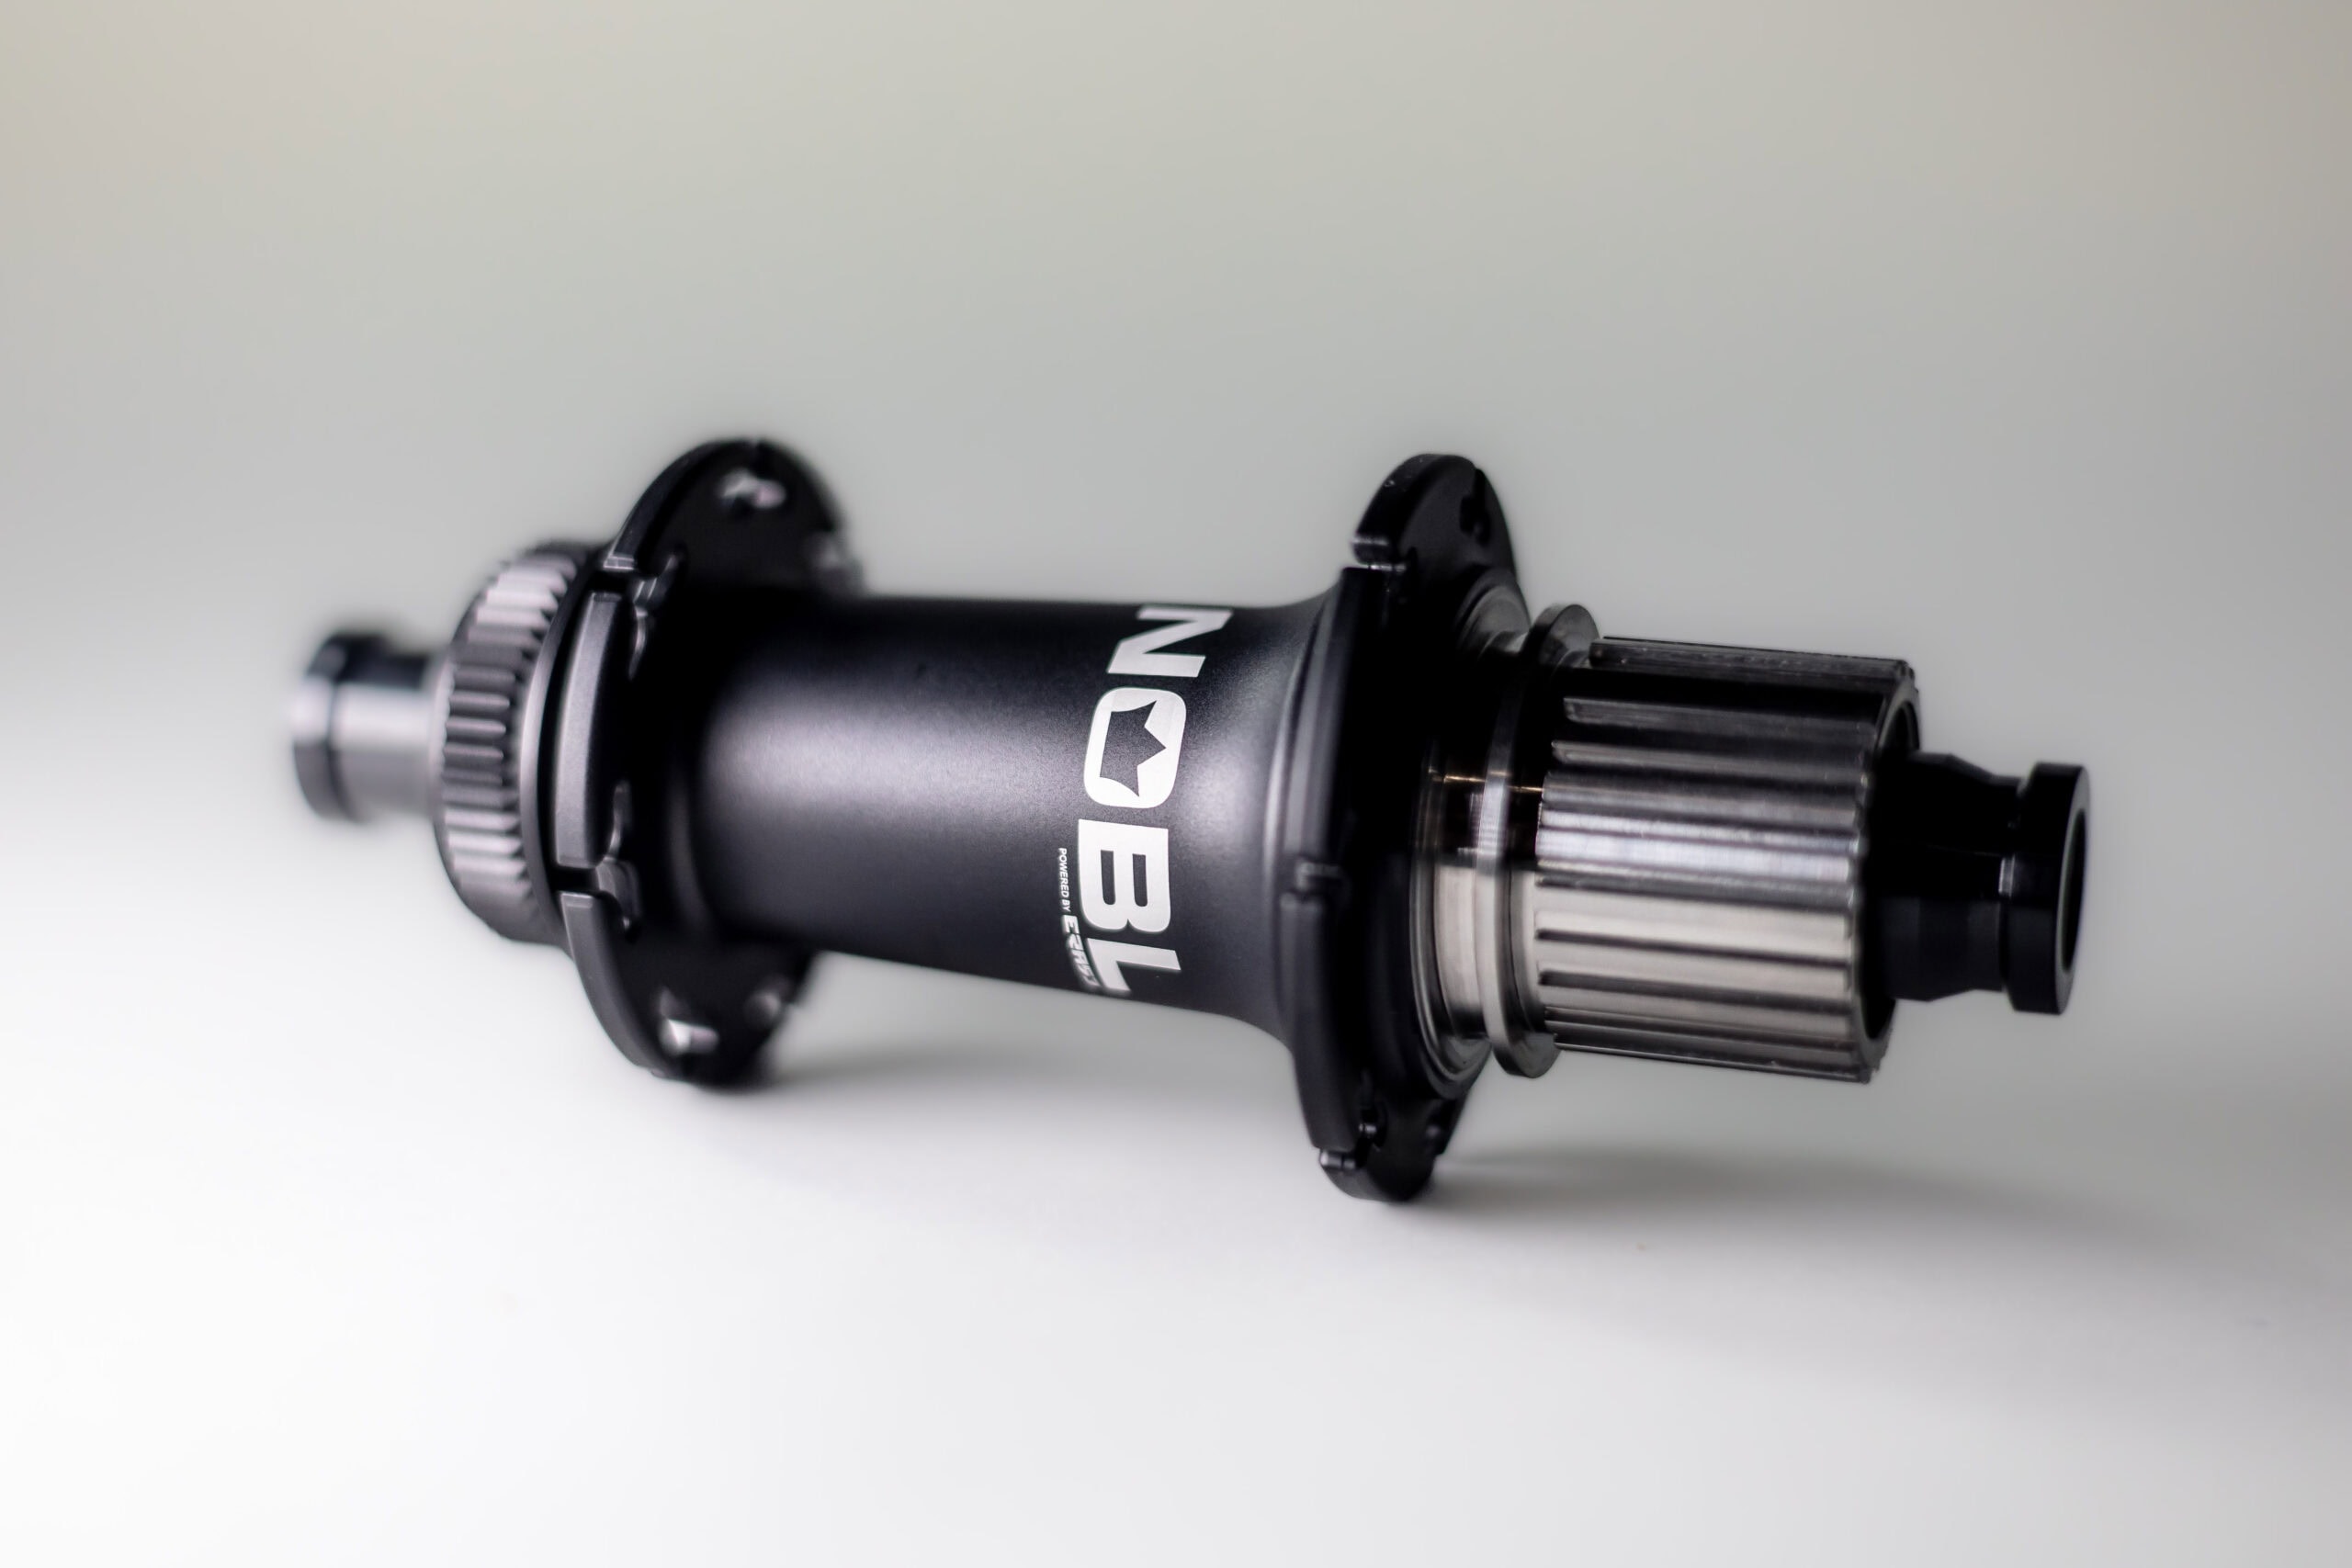
NOBL Ethos Ti70 Hub Wave Spring Update
Sorry To Spring This On You
At NOBL Wheels, our goal is to keep you rolling smoothly on wheels you can completely trust.
Recently, we identified a rare issue with the wave spring inside our Ethos Series Ti70 hubs. While only a very small number of hubs have experienced this issue, we’ve developed an improved replacement part and are sending one to every rider.
HOW TO INSTALL YOUR WAVE SPRING
Please install your replacement wave spring at your earliest convenience. Even if your hub has been running flawlessly, this updated design provides additional reliability and peace of mind.
Follow our step-by-step installation guide to complete the replacement.
Before you Start
- Take the wheel off the bike and ensure you have all the required tools.
- Work over a clean, contained surface. The wave spring and ratchet ring are small and easy to lose or send across the shop floor into the abyss.
- Have a replacement wave spring on hand before disassembly. Do not reuse a spring that has lost tension or shows visible deformation.
Tools Required
- Isopropyl alcohol and a lint-free cloth
- DT Swiss or Dumond Tech Freehub grease or oil
- Clean tray to store small parts
- Chain whip and cassette removal tool
NOBL Tip:
Lay out every component in the order it comes off, left to right. Reassembly is just this sequence in reverse, and a clean layout is the fastest way to avoid a mistake.
Step 1 – Remove the Cassette
- Remove the cassette from the freehub body with the appropriate cassette tool.
- If you do not have the required tools, or do not feel comfortable removing the cassette yourself, please consult your local bike shop.
NOBL Tip:
Removing the cassette from the freehub will allow you to confirm the internal drive components are aligned for proper function.
Step 2 – Remove the Freehub Body
- Remove the drive-side end cap and freehub, slide the freehub body straight off the axle with the endcap.
- This exposes the internal ratchet mechanism, wave spring, and spacer. No tools are required for this step under normal conditions, the freehub should slide off by hand.
Caution:
If the freehub does not slide off freely, do not pry or force it. Check that the end cap is removed and the axle is clear before applying additional force.
Step 3 – Remove the Internal Drive Components
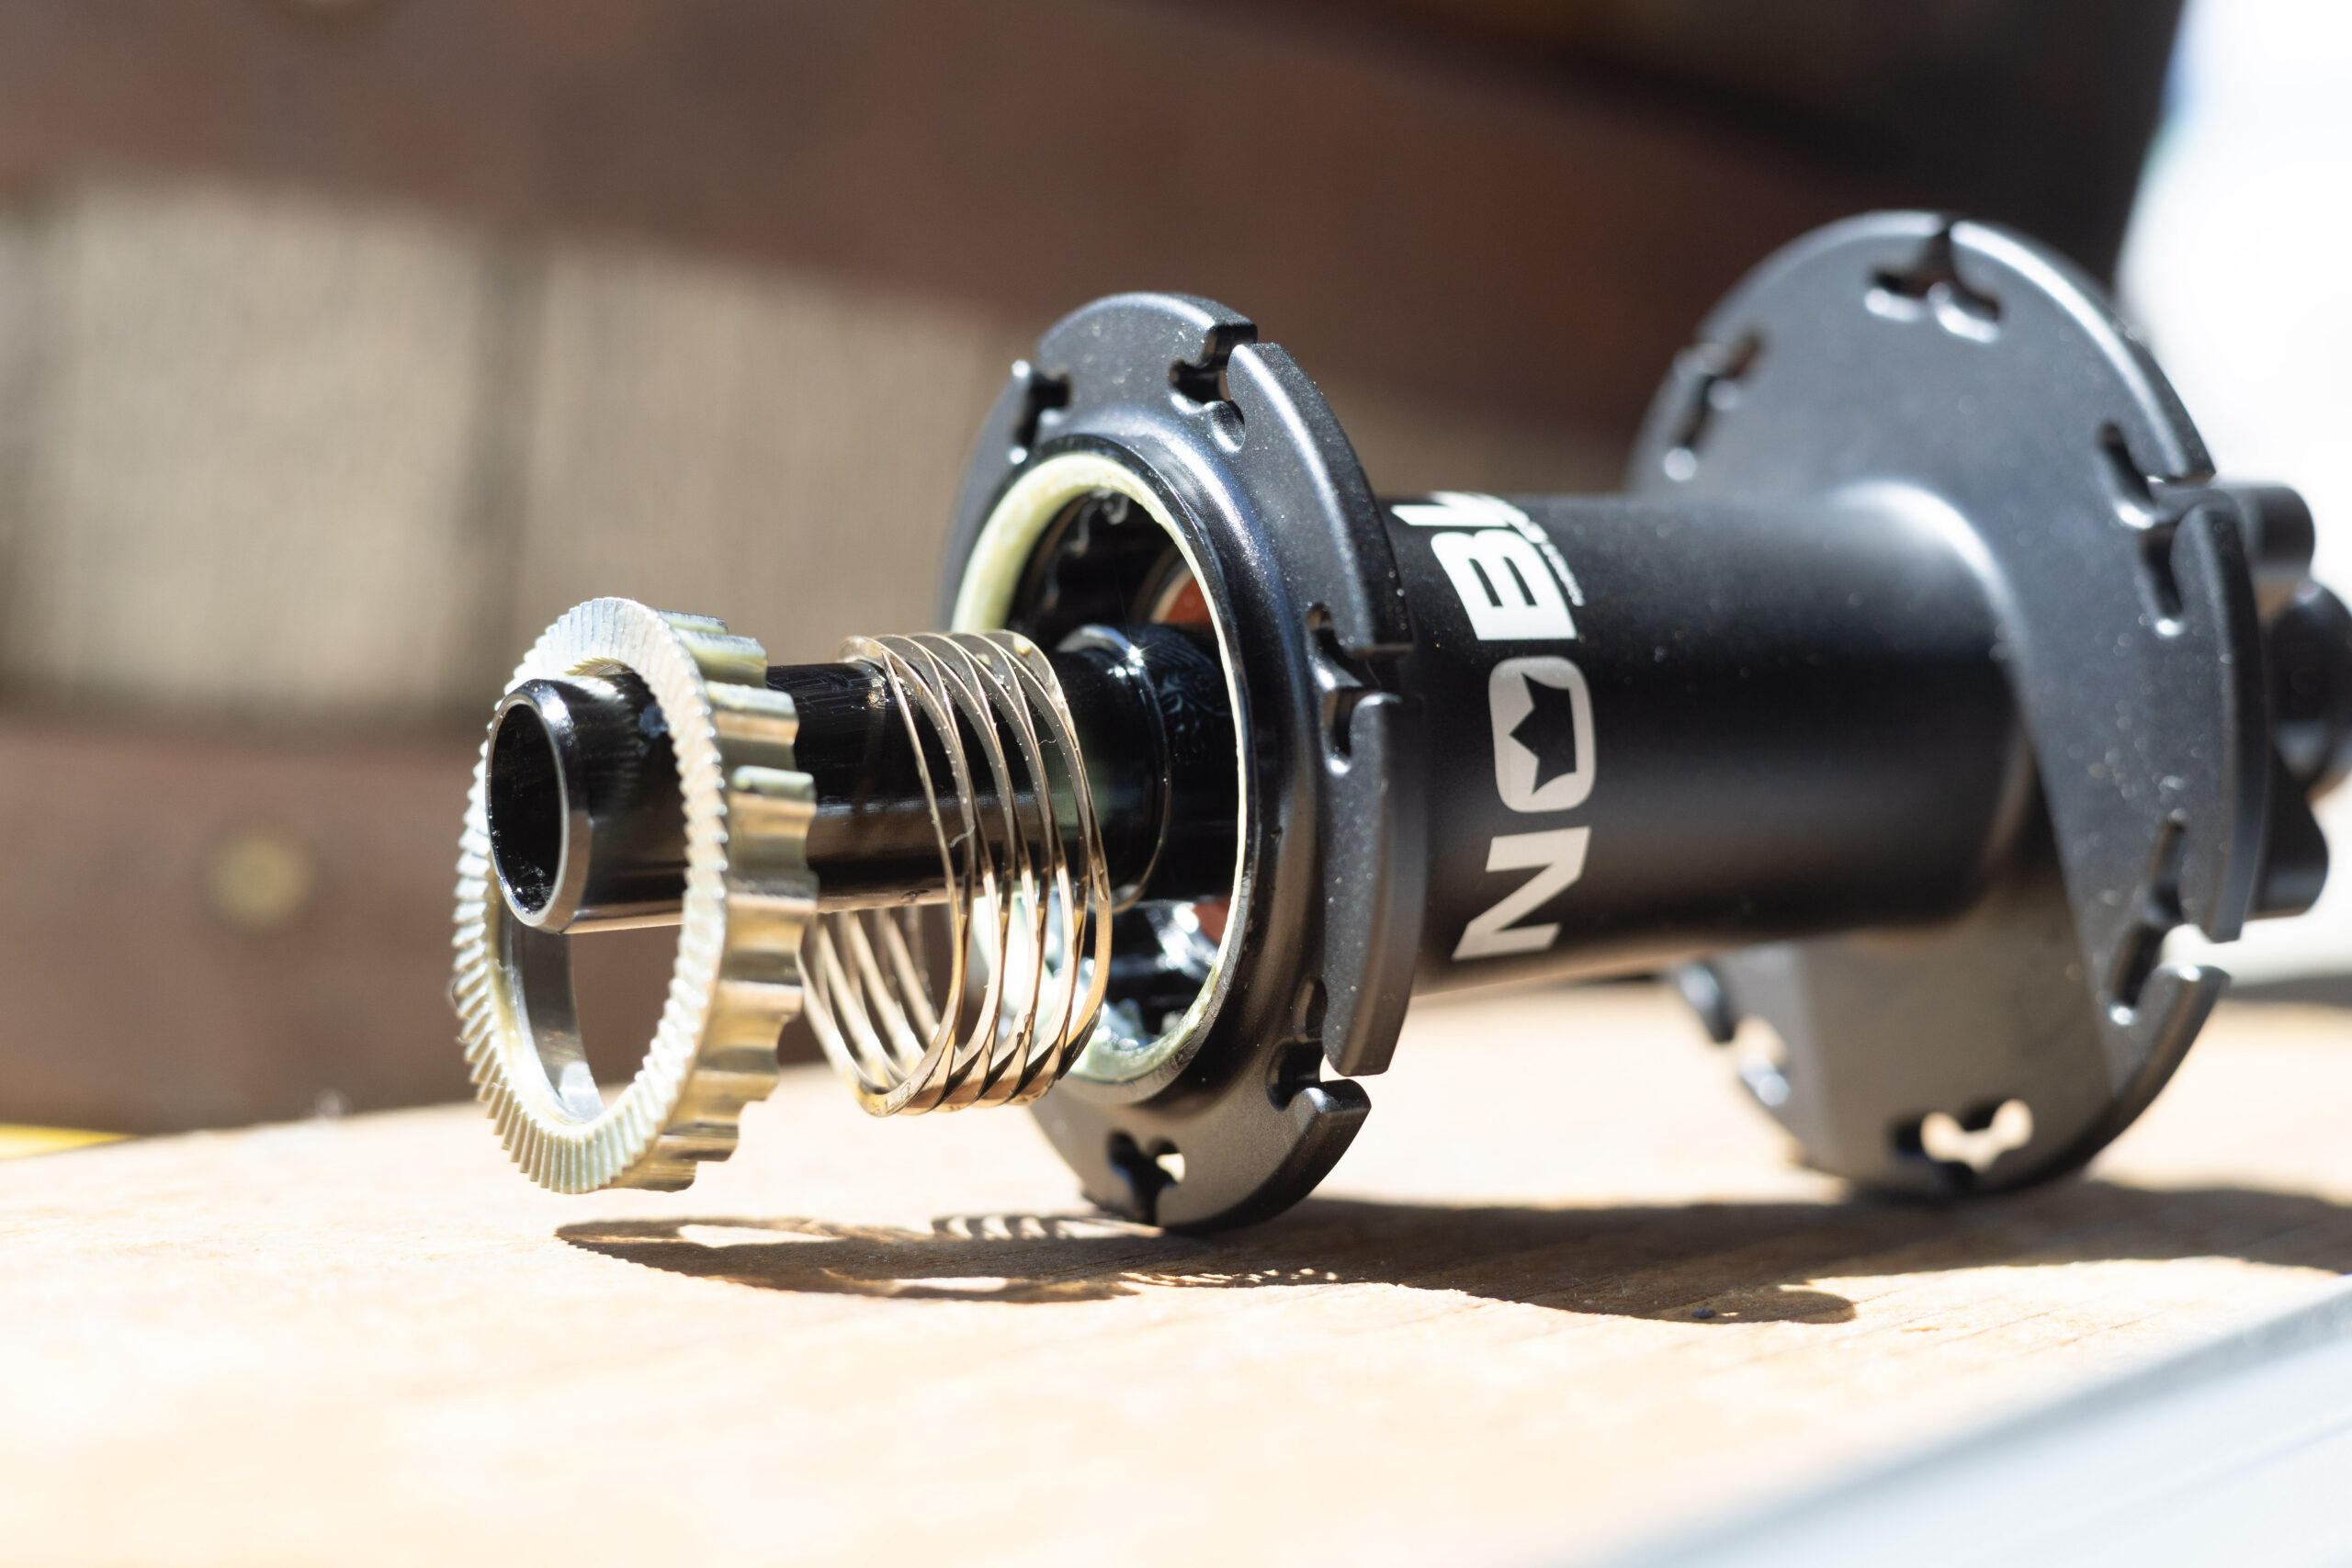
- Remove all internal drive components from the hub shell. On the Ti70 rear hub, this order is:
– Inner ratchet ring
– Wave spring
– Internal freehub spacer - Set each part down in sequence on your tray, left to right, so the removal order is visually preserved.

Step 4 – Inspect the Wave Spring and Ratchet Components
- Clean the inner ratchet ring, ratchet teeth (backside of the freehub), and inner hub shell surfaces using isopropyl alcohol and a lint-free cloth.
- Inspect the ratchet teeth and ratchet ring for rounding, chipping, or uneven wear patterns.
- Do not reuse the wave spring.
Caution:
Do not reuse a ratchet component that is worn, deformed, or damaged. Worn ratchet components can cause slipping under load or catastrophic failure, which is a safety issue for the rider, not just a performance issue.
If you have any questions, please contact us.
Step 5 – Install the New Wave Spring, Reinstall the Drive Components
- Confirm all components are clean and fully dry before reassembly.
- Apply a light, even coat of approved grease to the ratchet teeth and the ratchet ring interface. Do not over-grease, excess grease in the ratchet system reduces engagement quality and can cause slippage.
- Reinstall components into the hub shell in this order:
– Internal freehub spacer
– New Wave Spring
– Inner ratchet ring - Confirm each component is properly aligned and fully seated before moving to the next step.
Step 6 – Reinstall the Freehub Body
- Lightly grease the freehub seal surface and ratchet interface on the freehub body itself.
- Slide the freehub body onto the axle, ensuring it engages properly and evenly with the ratchet system inside the hub shell.
- Reinstall the end cap by hand, pressing firmly until fully seated.
Step 7: Quality control
- Spin the freehub by hand to confirm smooth engagement with no grinding or binding.
- Check for consistent ratchet function in both directions of rotation.
- Confirm there is no play or binding.
- Verify the end cap is fully and evenly seated.
- Load-test the hub. This can be done in a bike stand, or using a bearing press rod to confirm proper function under load.
Step 8 – Ride your Bike
- Reinstall your cassette, and reinstall your wheel to your bike, you’re good to go!
Thank you for trusting NOBL. We sincerely apologize for this issue and any inconvenience it has caused. While this affected only a small number of hubs, it falls short of the standard we set for ourselves. We’re committed to building products you can rely on and ensuring you ride with confidence for years to come.
– NOBL Wheels Team
Wave Spring FAQ
What is a Wave Spring?
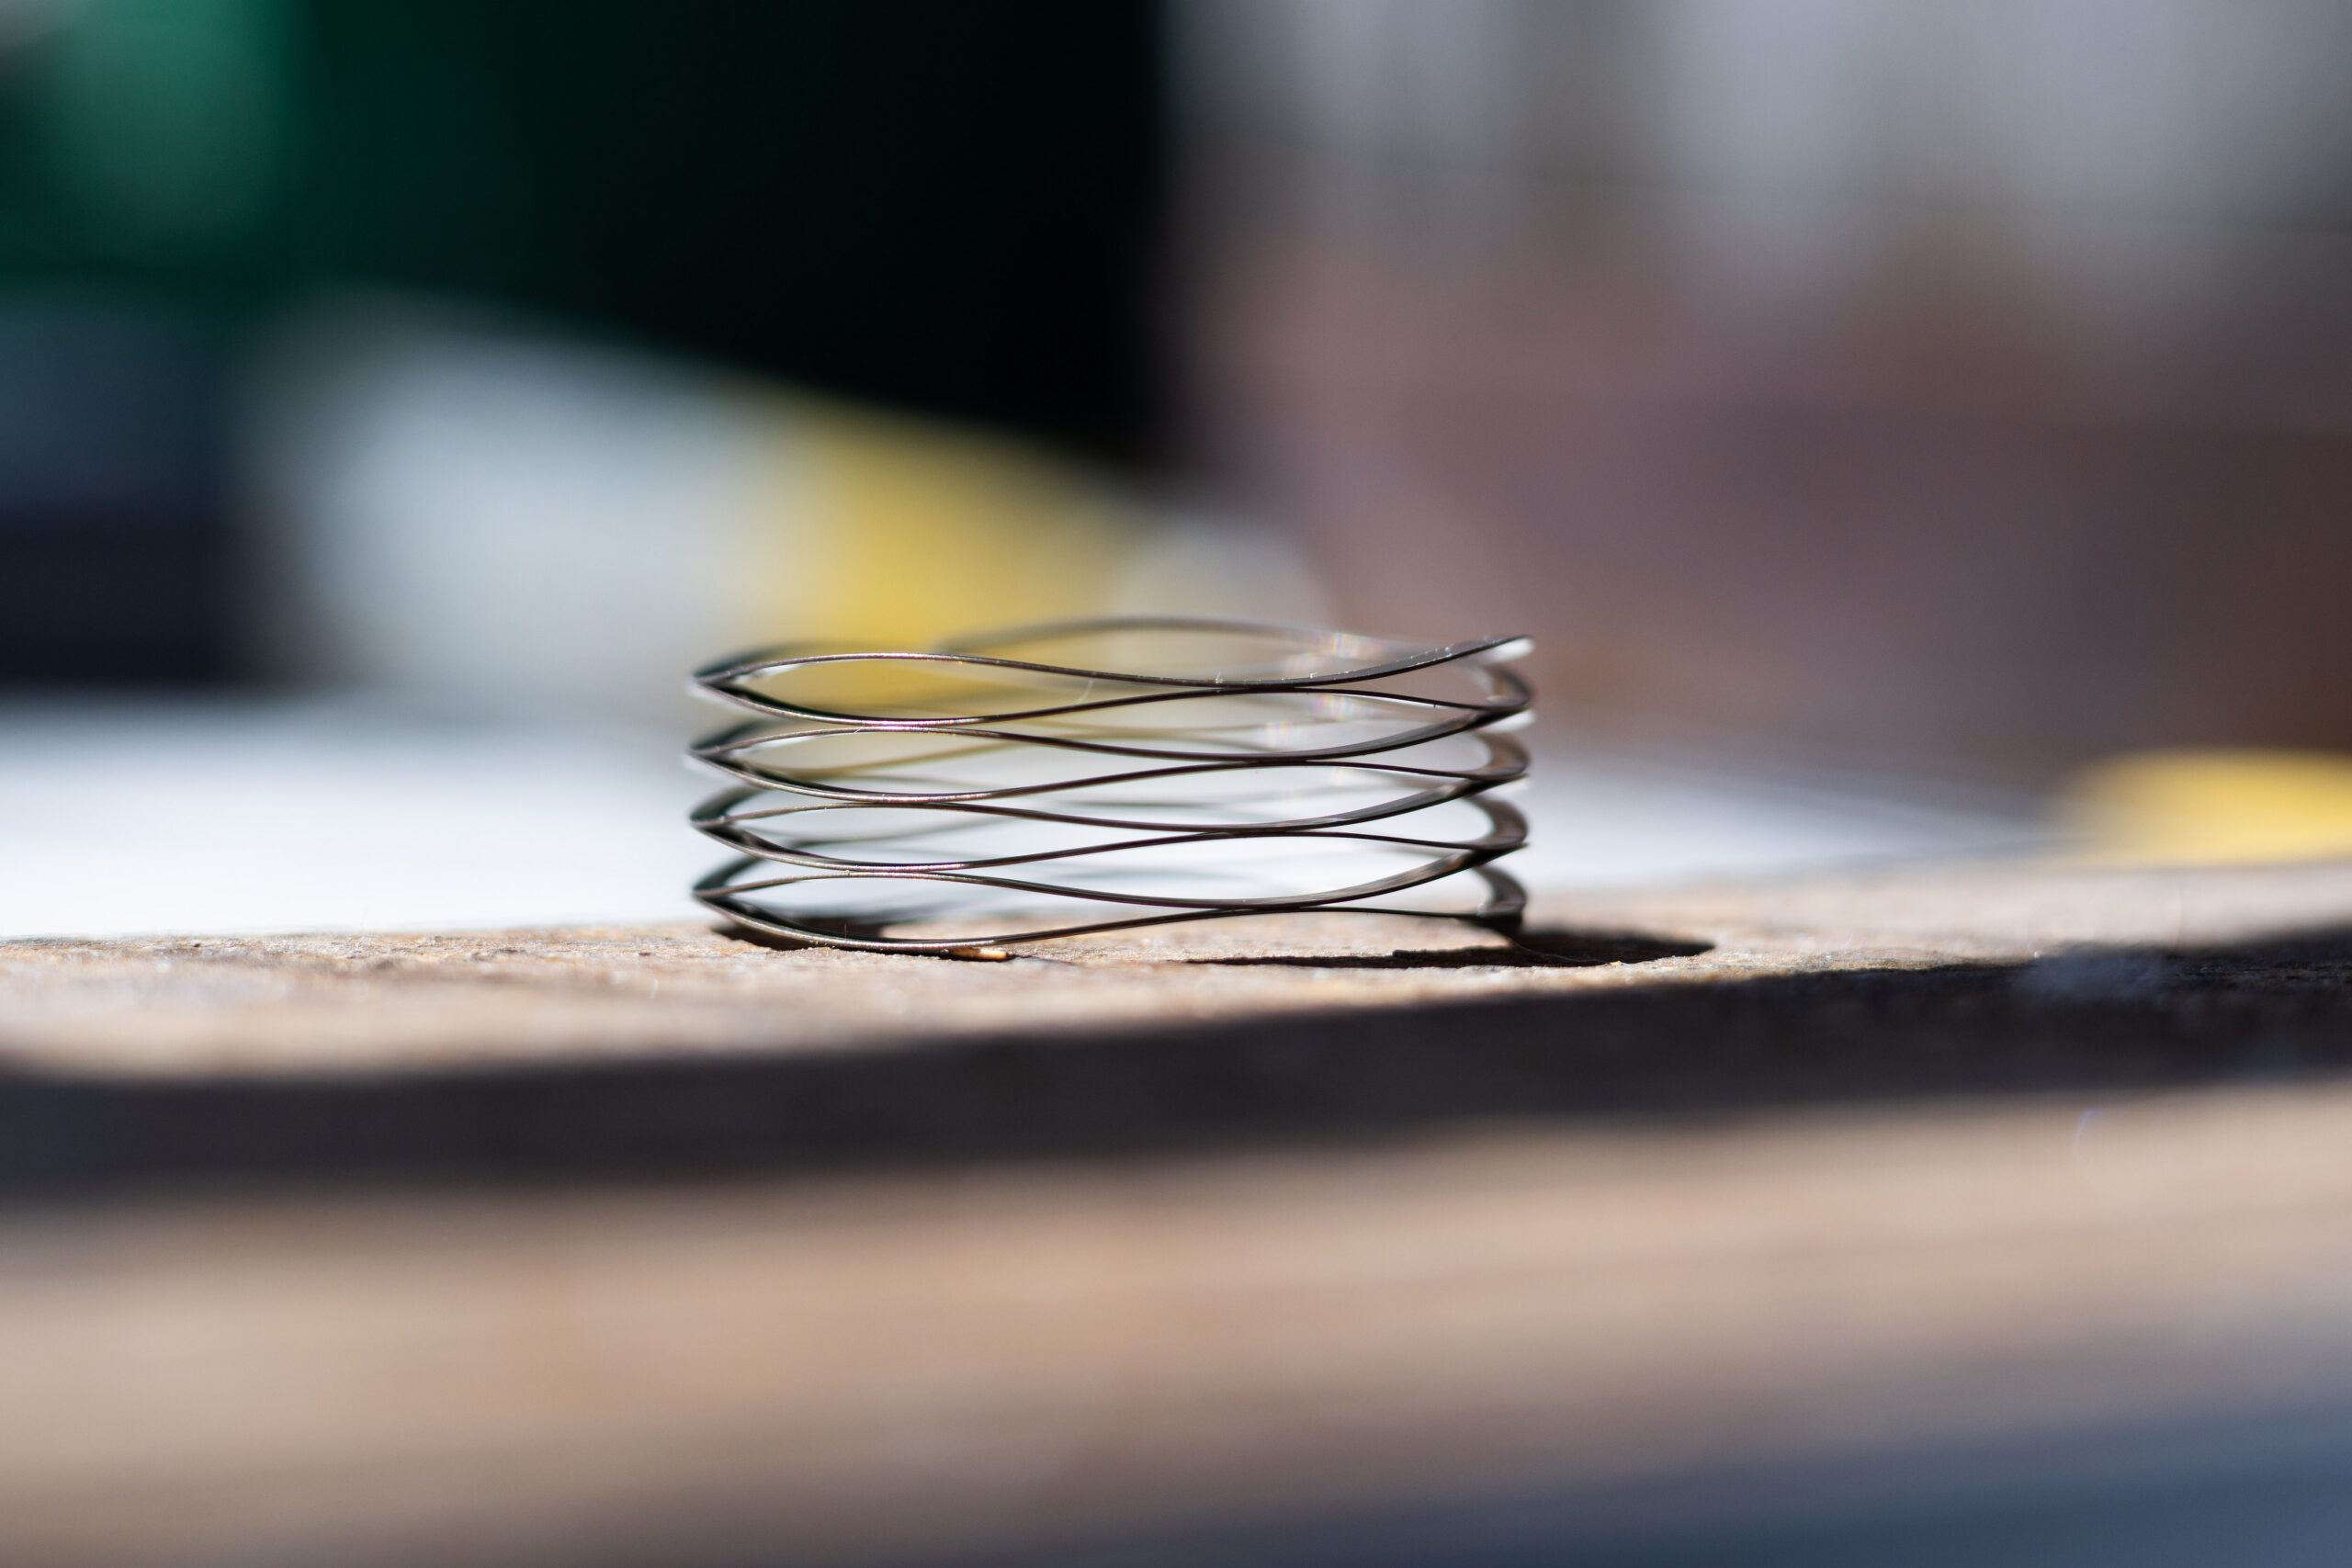
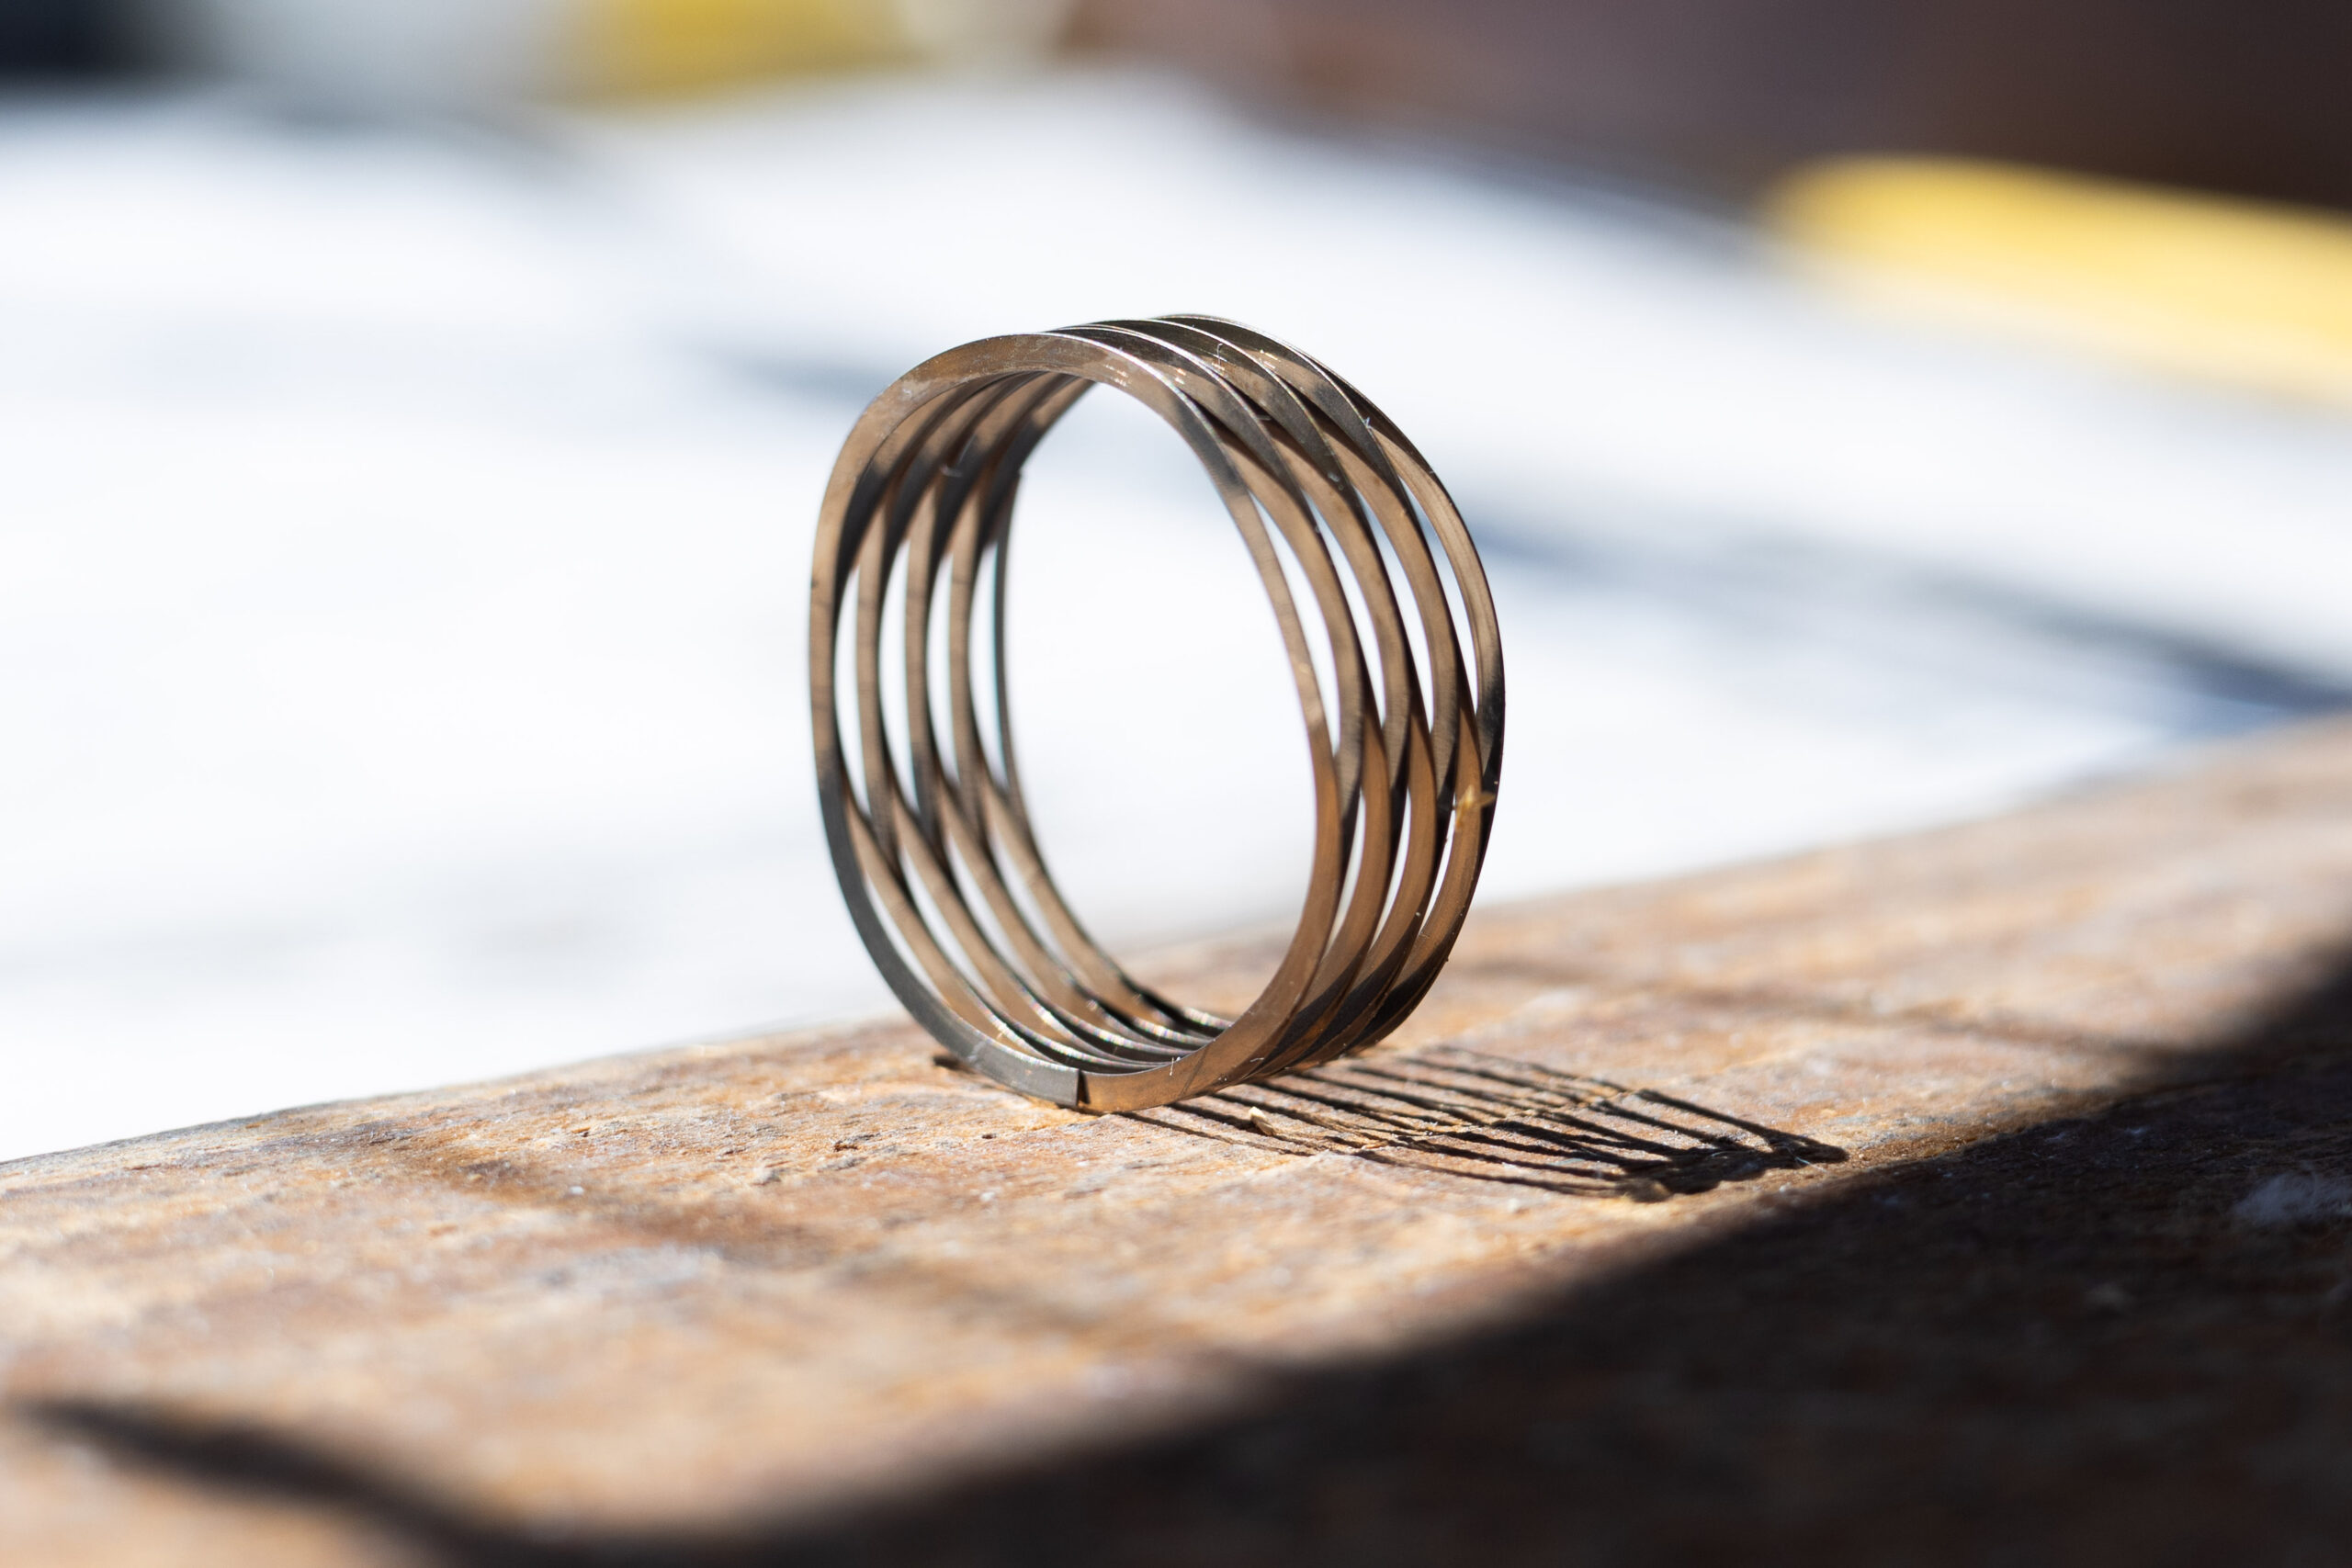
The wave spring sits behind the inner ratchet and applies constant pressure to keep the ratchet mechanism fully engaged. This ensures reliable hub engagement every time you pedal.
What’s Wrong with the Previous Wave Spring?
A small number of wave springs were manufactured 1.2 mm shorter than our specification. In rare cases, this created a small gap between the ratchet mechanism and hub shell, allowing the spring to move out of position. If this occurred, the hub could fail to engage.
To date, we’ve seen just five instances of this issue across all Ti70 hubs shipped, with no permanent damage reported. Even so, that’s five too many for us.
THE FIX: A TALLER SPRING
The new spring is 1.2mm taller.
We’ve redesigned the wave spring with an updated profile that eliminates the gap. The new spring is 1.2 mm taller, ensuring a secure fit and consistent pressure on the ratchet mechanism for long-term reliability.
Installation only takes a few minutes.
Got Questions?
If you have any questions about the installation process, please reach out. We’re here to help.