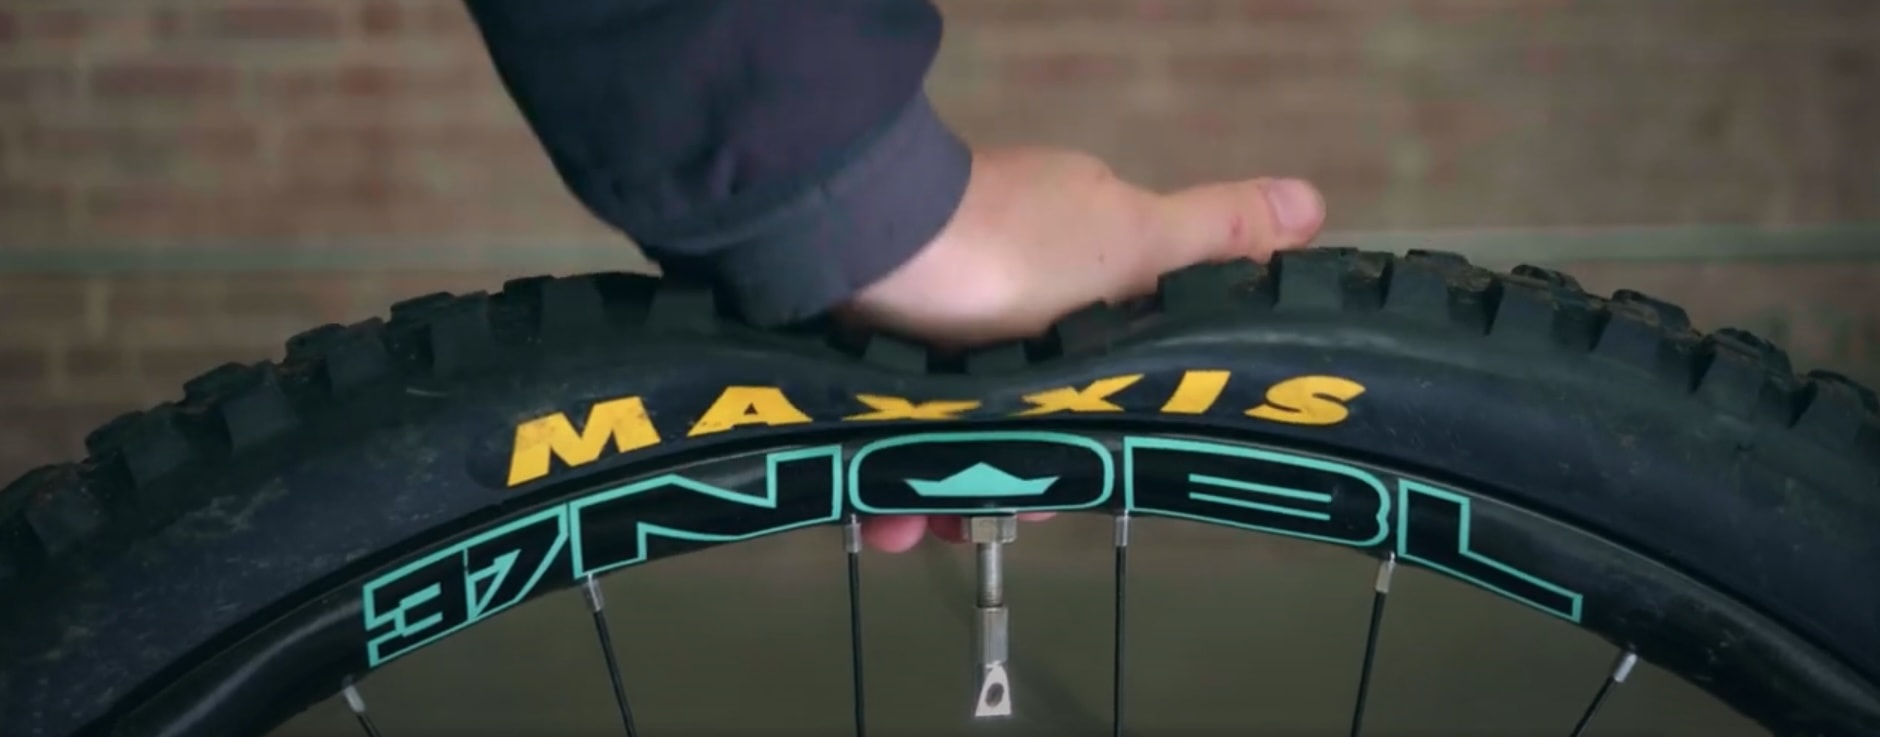
Troubleshooting Tubeless
These days, tubeless setups are the norm, and there are certainly a lot of great reasons why. You’ll save some weight, be able to run slightly lower pressures and enjoy more grip, and experience fewer pinch flats just to name a few.
At NOBL, all of our wheels are shipped with a robust tubeless system by Peatty’s already installed, so a lot of our customers may not know the reason rim tape is applied, or how it actually works. We can all agree that nothing takes the wind out of the stoke sails like a flat tire when you’re headin’ out for a shreddin’, so we’ve put together a quick Tubeless Troubleshooting guide if you’re having a hard time keeping your rubber firm.
The important thing to remember is that a tubeless system is simple. If your wheel is not holding air then either your tire is not seated properly, it has a large enough puncture that the sealant can’t seal it up, or the rim-tape is compromised and isn’t sealing air out of the rim.
If you’re grappling with a tire losing air, here’s a step-by-step troubleshooting guide:
1. Check Tire Fit
Check Your Tire Fit and Sealant: Review the manufacturer’s guidelines regarding tire fitment and PSI, and double check that you’ve included enough sealant.
2. Check Tire Seating
Check Tire Seating: Examine where the tire attaches to the rim. If the tire bead isn’t seated correctly, you might notice air and sealant bubbling out over the rim’s edge.
3. Listen For Hissing
Use your earholes: Once inflated, give the wheel a spinto ensure the sealant disperses evenly. Inspect the tire and listen closely for hissing sounds which could indicate a leak. If you’re having trouble locating a problem area, soapy water can help pinpoint the culprit.
4. Re-tape If Needed and try again
Compromised Tape Job: If you’re seeing air or sealant leaking out of the nipple holes or the valve access hole, your rim tape has been compromised and you’ll probably need to start again. Keep in mind that cycling rims are not porous so all you need to do is find out where the air is escaping, and correct the issue.
Common Installation Errors
Setting up your own wheels with a tubeless system should be relatively straightforward if you’re careful, but we hear from lots of customers who have trouble when they make the attempt.
Here are some of the most common areas where tubeless systems can fail during installation:
- Improper and overaggressive use of tire levers. There’s no shame in using a tire lever in an attempt to save your delicate fingies, but using them incorrectly can easily damage your rim tape and quickly ruin the seal. This is one of the most common problems we see.
- Issues around valve installation: Either the valve has not been installed tightly enough or the rim tape has spidered or torn around the valve when you popped it in. While it’s definitely easier to use a sharp object to cut a hole for the valve, pushing the valve through on its own is more effective even though it requires more hand strength.
- Occasionally we also see people tighten the valves too much, which can compromise the o-rings in that area
- Dirty Rim Bed: your rim bed may not have been cleaned enough before you installed the tape. It can be time consuming, but it’s critical that your rims are 100 percent clean before you get started. If excess adhesive is left before taping, the rim will often not seal properly and if it does, the seal will not last.
Happy Riding!
Still Struggling?
If you’re still having trouble with setting up your NOBL Wheels tubeless, give us a call or reach out to us here and we’ll help you out.